How Can We Help?
How to Activate LiteSpeed Web Server LSCache for WordPress?
The LiteSpeed Cache plugin for WordPress accelerates WordPress websites once installed utilizing our on-board LS Cache features within LiteSpeed Web Server (Available only with Unlimited and Cloud Hosting Plans). In this guide, we’ll go over the basic installation of installing & enabling the LiteSpeed Cache WordPress plugin.
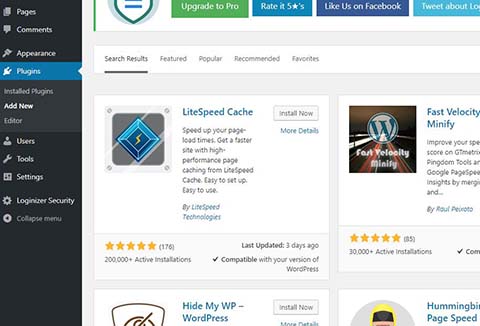
First, it is must to disable/remove any existing caching plugins that you have installed on your WordPress site. After, navigate to Plugins > Add New & type LiteSpeed into the search box.
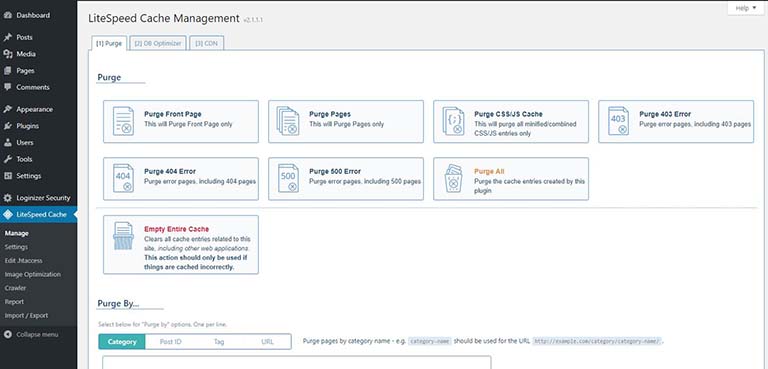
After you’ve installed & activated the plugin, you can navigate to the options via the LiteSpeed Cache menu option on the left menu of your WordPress Admin dashboard. Click on LiteSpeed Cache to go to the main dashboard for the plugin.
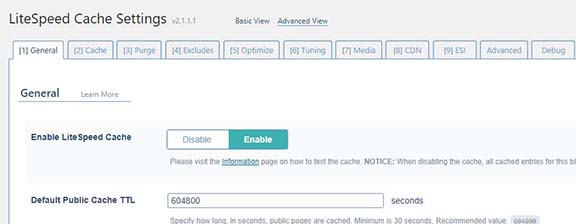
The LiteSpeed Cache plugin for WordPress will now be installed and has loaded the defaults. The plugin will work & begin accelerating your site with just the basic settings. You can also further optimize the plugin by using the Advanced View .
If you have any questions or problems with the plugin, feel free to reach out to our support team. We recommend using the default settings unless you are familiar with the advanced configuration options. At this time, Object Cache under the Advanced tab should not be enabled.